Usually you use eagle to design your printed circuit boards (PCBs) only in 2 dimensions (when not considering the layers as 3rd layer). This gives you some headaches for narrow space designs like in small cases.
The common solution until now is to export your board with eagleUp and assemble it with a case in Sketchup. This also gives you some drawbacks. The most important to me was that the Sketchup files are mesh based like the data used for 3D printing usually, but for further use in CAD systems this is not really usable. You also will not be able to get a STEP model that you can give to your costumers out of this data.
Another solution is to use eagle3D, which gives you photorealistic renders of your boards. This images (or even videos) are really good for marketing brochures, but this way makes it impossible for you to play with your 3D models to estimate how much space is left in your case.
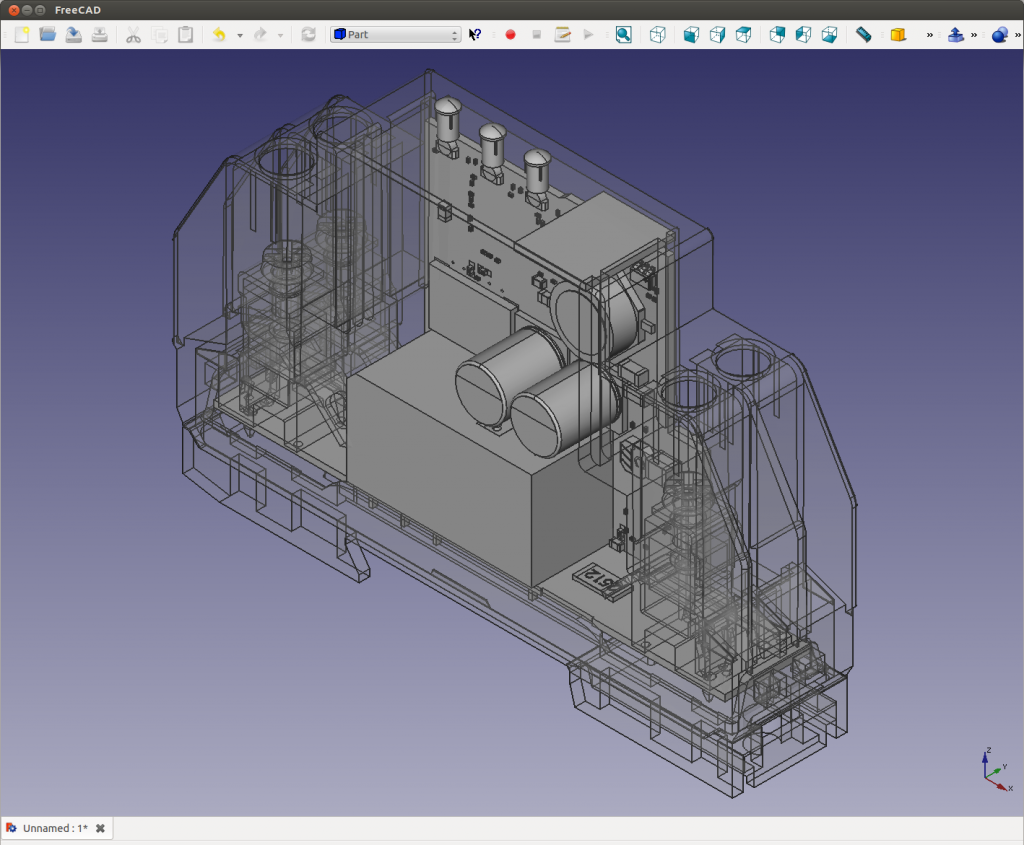
The solution I found was to write a macro for FreeCAD that interprets the XML Data that Eagle 6 uses to save your board (the .brd file). This means that my script reads the outline of the pcb and extrudes it with the thickness you specified in eagle. The XML file also contains the names of your parts, which you can map to 3D CAD Models (STEP Models) of them. The last step is to assemble the parts and the board. For more information on how to use it see my github repository.
The only drawback of the freecad solution is that somehow the colors of STEP models get lost – at this time I expect it to be a freecad problem that might be fixed in the future.
The result looks amazing:

Thanks to my boss Carsten Ziermann, who allowed me to make changes on the script in my time at work as well as to use the screenshot above.
